Yay! Let's begin with Part 2 of the series of scrapbooking posts! Last Wednesday I shared with you about my love-hate relationship with traditional scrapbook layouts (well, more hate than love). I ended it talking about a solution for my scrapbooking problems, so here I shall introduce to you the divided scrapbooking system!
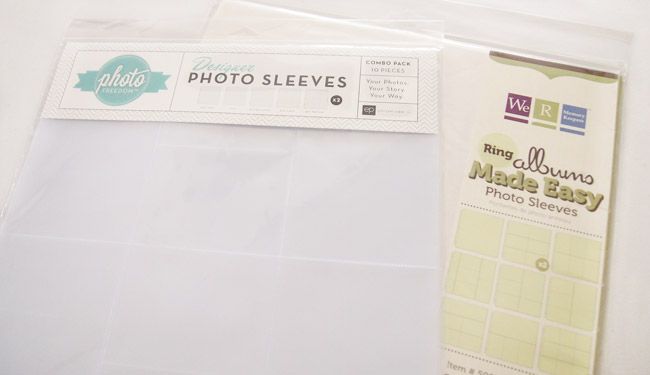
Scrapbooking companies now make page protectors with pockets for photos and journaling, making things so much easier. I use the ones by Photo Freedom Echo Park, and We R Memory Keepers. The idea of this is that you don't have to worry about how you're going to arrange your layout. You simply:
- Pick out the photos you want to use
- Choose a divided photo sleeve that fits
- Slide your photos into the given pockets
- Add some titles/journaling if you want
- And you're done!
Sounds too good to be true? It isn't! I mean sure you could add embellishments and extra stuff to your photos, but it still takes the main worry of designing the layout off your mind! I would say that it 'uncomplicates' the whole scrapbooking process. These were some that I worked on in January.
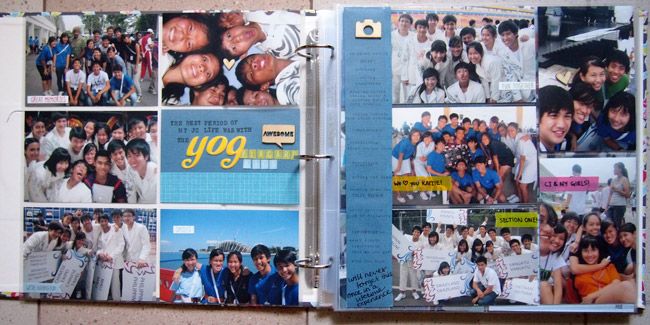
This was from back in 2010 when I was a volunteer for the opening and closing ceremony of the Youth Olympic Games in Singapore. A bunch of other schoolmates and I spent days hanging around together during the practices and although many of the friendships formed didn't quite stay strong after the whole experience ended, it was the best time of my JC life because there was not one moment when I worried about school. We made new friends, played games, ate and had fun all day. It was a once in a lifetime experience and I'm so lucky to have gotten the chance to be there with you guys. If any of you read this, even if we hardly talk now, thank you for the wonderful memories. :)
So naturally, I wanted to document it somehow. But I ran into a problem. We took tons (I'm serious) of photos during the whole period, and I printed many of them out back then because I loved how bright, colourful and fun every photo was. But I had too many photographs I wanted to use. How was I ever going to make a layout for this? I put this project off for the past two years, and when I got my hands on the divided photo sleeves, I immediately got to work. I loved how every page looks so vibrant because of the many people in each of the photos, and how it captures all the fun we had together.
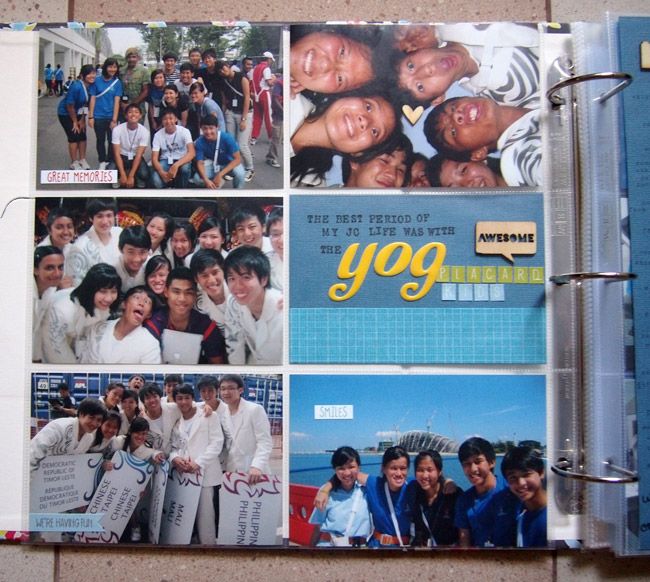
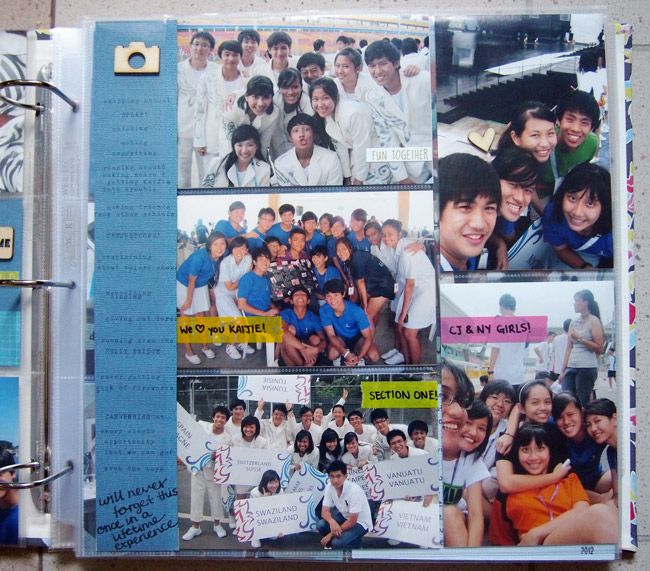
This photo sleeve had a 2"x12" slot on the left, so I decided to make a journaling strip, using my typewriter to add a list of all the things I remembered most vividly about this period.
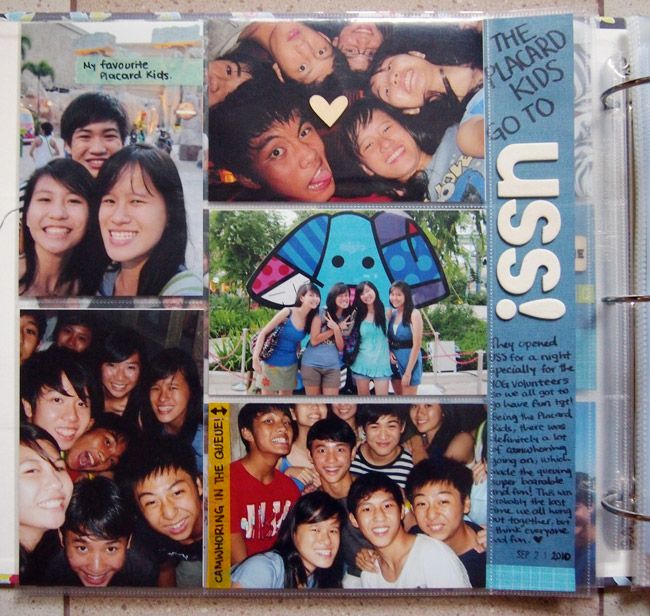
This system is great for when you have a whole bunch photos you want to scrapbook for a particular event. I'm the kind of person that feels every photo is important and I'll probably break down if you only let me choose one. Or two. Haha So if you're like me, this is probably the scrapbooking system for you!
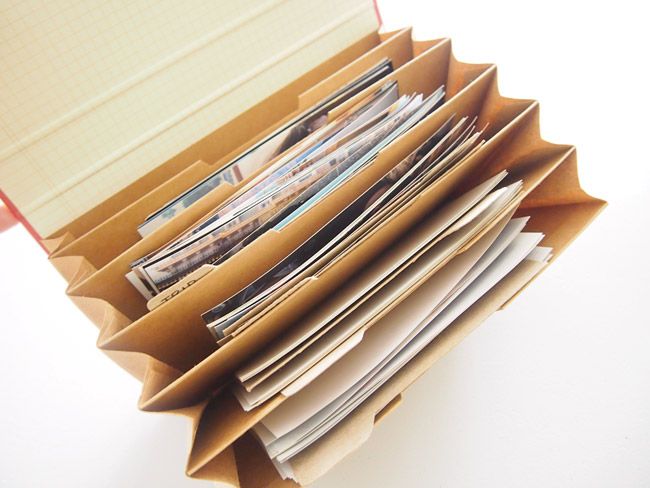
This is where I stash all my printed photos and what you're looking at is only part of what I started with before I used the photo freedom/divided scrapbooking system. Over that one weekend in January alone, I halved my stash of printed photos and did up about 8 pages. Just like that. It's really easy to do and I find that I'm motivated to do more than one layout each session, unlike when I work on 12x12s. The sense of accomplishment is wonderful! Although, like I mentioned in my previous post, that doesn't mean I want to give up on full 12x12 layouts completely. I think slotting in one every once in a while is key to giving my album some diversity.
I'll be working on putting my older photos into the protectors and make that stack of photos much smaller. But I'm also thinking of starting on a Project Life series, where I can journal about normal day to day events which I want to remember. I think that would be perfect for the little things. If you haven't heard of Project Life, you can check out a cute video here. I also started a Pinterest Board for Project Life inspiration and you'll see that I really love the simple no-frills ones! I would love to be able to have mine turn out as clean and simple as theirs.
If you were thinking of scrapbooking and felt the same way I did in the past (overwhelmed), I hope this helped you see that it doesn't have to be too difficult if we choose not to make it so! Eunice


Ah, this is so great!! Is there any place I can buy it in Singapore or are they only available online? o;
ReplyDeleteHi SuiKee!!!!! <3 You can totally buy it in Singapore. I bought mine from PaperMarket. But they are $9-$11 (depending on brand) for 10 sheets (20 sides). :S You might be able to get it online for slightly cheaper but unless you get in bulk (and share with a lot of people or something), it won't be that much cheaper so I would buy from local shops just for convenience. You can always wait around for offers/discounts if its not urgent! Thats what I did. :)
ReplyDeleteAw man I saw this too late, was just at paper market yesterday and didn't manage to find it! Thanks Eunice, will look out for it XD
DeleteHi Eunice, I heard from papermarket that they no longer carry that. D u know of where else I can find it?
ReplyDelete