
If you read my about page, you'll know that I'm all about trying new crafts, and how refreshing that is for me. I dabbled mostly in paper crafts so far, so I was pretty excited when I decided that my next crafting adventure would be to try my hand at crocheting!
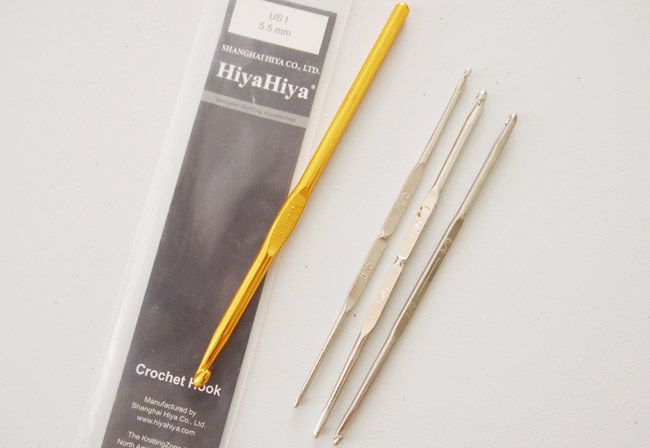
The thought has been playing around in my head for quite some time, but it was not until I got my hands on some great value crochet hooks that I really thought "Okay! It's time ti try it!". I bought the HiyaHiya 5.5mm crochet hook when I was in Bangkok for slightly over a dollar! I also bought a 4.5mm one but I can't find that for now... You can find some great ones at Spotlight, although they might be a bit more costly. Or check out the $2 ones at Daiso, although the last I checked they only had really big-sized hooks. The three smaller hooks were recently given to me by my Grandaunt, who says they are at least 30 years old now. Wow. I should probably ask her to teach me some of her skills.
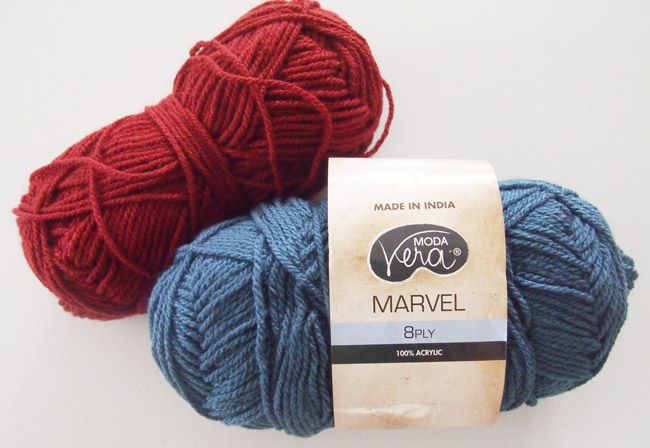
I used this brand of yarn, which was slightly less than 3 dollars a 'ball' at Spotlight during a sale. If you know about your yarns/wools you'll know why this got so cheap, its 100% acrylic, so its apparently not as soft as the ones with wool and its probably useless in cold weather. But if you're starting out, there's no point in investing in expensive yarn unless you're sure that your first crochet project will turn out absolutely great! So acrylic yarn did fine for me.
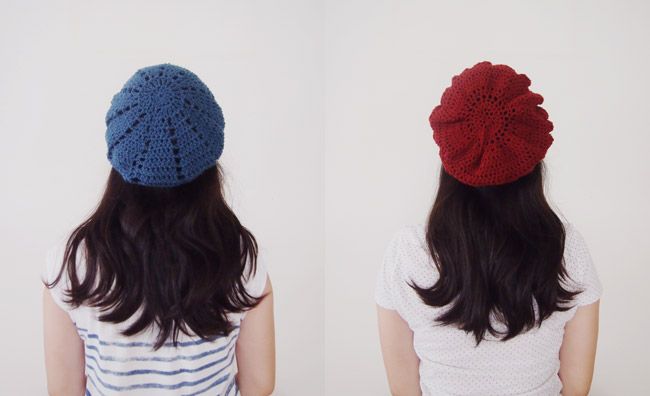
When I stumble across fashion pictures on Tumblr or Pinterest, I've always adored all the cute wool hats that went with all the gorgeous winter outfits. Well of course there's no winter in Singapore and thus hardly any reason to make one of these, but a girl can dream!

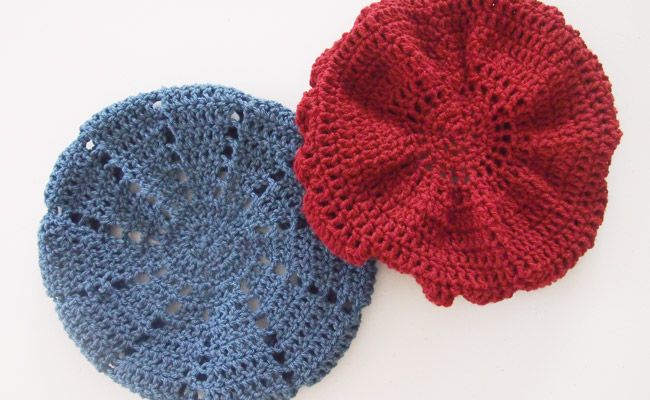
This was the first beret I attempted. Because I was just starting out, this became a trial and error piece. I redid the second half of the beret three times before deciding that the fault lay in the beginning part and so I redid the whole had from the very start. Sure it was heartbreaking to pull loose all the knots and start right from the top again, but its not too difficult and you won't miss the uneven stitches and poor knots you made in the first round. I'm still not sure if I got it right, because as you can see in the picture on the right, it makes a frilly outline around my head... which kind of bothers me. And I made it a little too tight-fitting. Hahaha

The second beret I worked on went much more smoothly I must say. I loved the sweet rows of gaps/patches extending from the center of the beret. It is also more neat and less big and... frilly. Haha Although this time, I was a bit too cautious and made it a teeny bit too loose. But nothing a bobby pin here and there won't hold!
Here's where to learn to make this one!
She really is a great teacher, as all her instructions are very simply worded and easy to follow, with no crochet jargon that she expects you to know. To be honest, because I did both berets using her tuorials, I don't know the proper terms for the knots or how to read crochet patterns. While this may outrage the dedicated crochet community because they would argue that I didn't exactly learn to crochet, it spells joy for the rest of us beginners who just want to try it out and see how much we like it!
I have found crocheting to be extremely therapeutic. There's just something about making knots over and over again and slowly seeing the pattern take form. I especially like to work on it while I go through my line up of shows that I watch at the end of each week. I'm looking for other crochet projects to take on, will probably stop with the berets for now. Heehee
I hope this helped you if you were thinking or trying it out! Let me know if you do! :)

I LOVE YOUR BERETS!!!!!!!! So pretty(:
ReplyDeleteThank you Gen!! :)
Delete