
Christmas is coming up! And its coming up real fast I must say. I haven't even done any Christmas shopping yet! I'm in trouble!
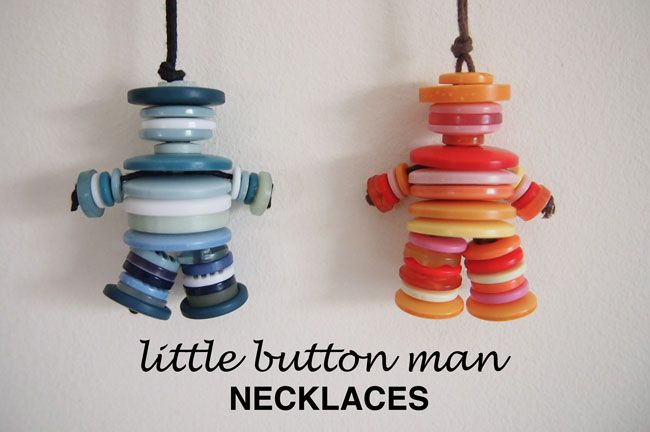
Today I bring you a little gift idea (that can be done in about half an hour) thats cute for your bunch of girlfriends or your nieces and daughters. I came across the idea of making little hat men with buttons in a book about button crafts in the library a long while back (sorry that I can't remember the title). Their button men were much taller and required a lot more buttons, so I modified it to make it shorter and into a necklace. You can change it up any way you want really.
So let's start! These are the things you will need for this project. You can vary the number of buttons you need for the different parts according to how you would like him to look. But here's a rough gauge:

Okay before we move on to step 1, here's a quick tip that will save you a heap of time and frustration. Apply clear nail polish to all four ends of the waxed strings. This will make the stringing process much less detestable, trust me. ;)
Done? Let's start! :)
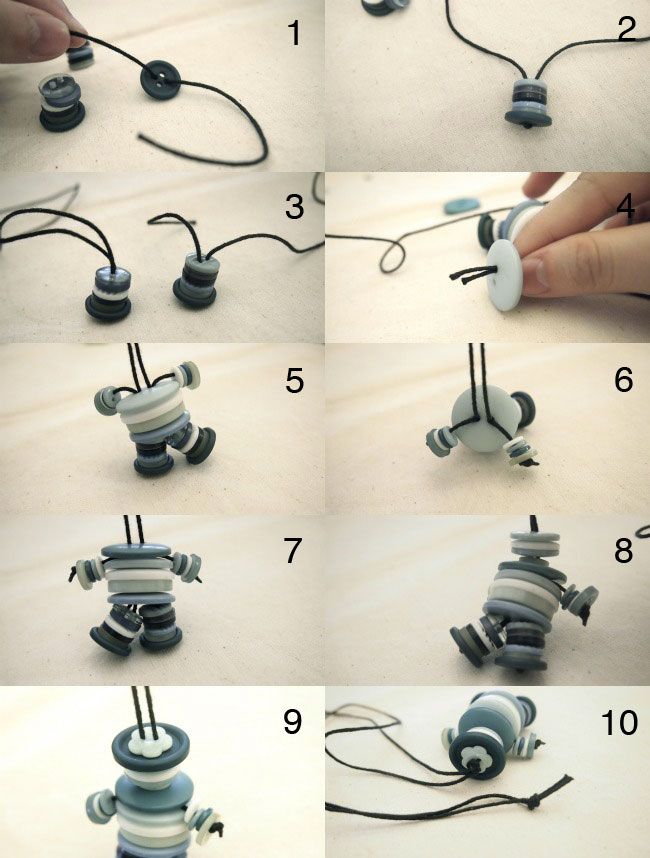
1. We're going to start stringing it from the bottom up, starting with the feet! You want the 'middle' loop to be at this button, this is where the string bends!
2. With the two ends of the string, string the rest of the leg.
3. Repeat with the other string to get the other leg! (They are currently two separate parts)
4. Now we want to join them to the body, but you have 4 ends, so the two ends of one string go into one button hole, and the two ends of the other string go into the other button hole.
5. Do this for all the body buttons until there is one left. Before that last body button, we want to string the arms. For each string, one end will form the arm and the other will be used to continue upwards.
6. After stringing the buttons, tie a knot the end of each arm STRING and push the buttons towards the knot. Pull and adjust the excess arm string(from the loop at the feet) such that arm buttons start of right at the body buttons, and the excess string should be pulled to lengthen the other free end. (Do not tie a knot right after stringing the buttons and cut the excess off. You will get a really short necklace.)
7. Add the last body button!
8. Add the neck and head.
9. Top him off with his hat. (Glad to have found the cute flower button!)
10. Tie a knot right above his hat to keep the buttons in place, and tie another knot at the end of your string to complete the necklace. Cut off excess string if you wish to adjust the length or if there is a difference in length between the two ends.
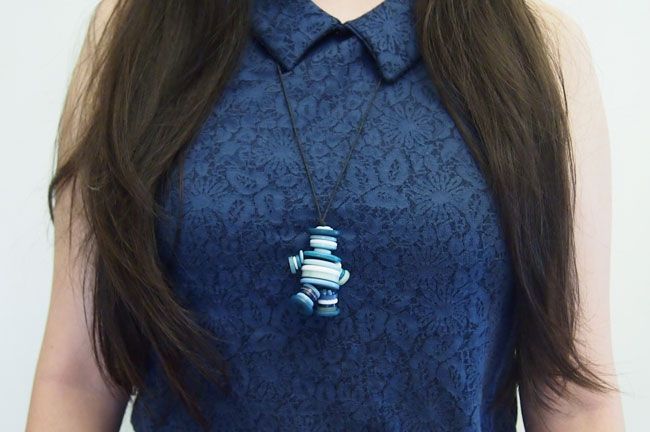
AND YOU'RE DONE! YAY!
It's really pretty simple but I hope I was clear enough and didn't confuse you instead! If you do make variations of this, leave me links or pictures! I would love to see what you come up with! :) Eunice

No comments:
Post a Comment