
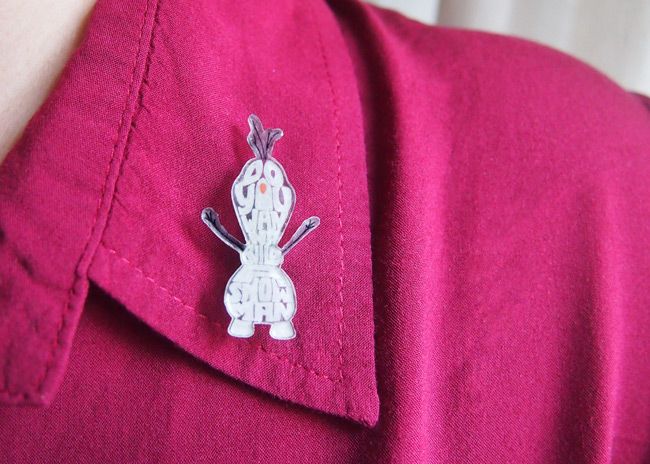
A few months back I did a hand lettered piece of Olaf and one of my favourite songs from the movie Frozen. This time, I thought it would be fun to take that piece and make it into a little pin using shrink plastic, and it turned out to be a great idea.
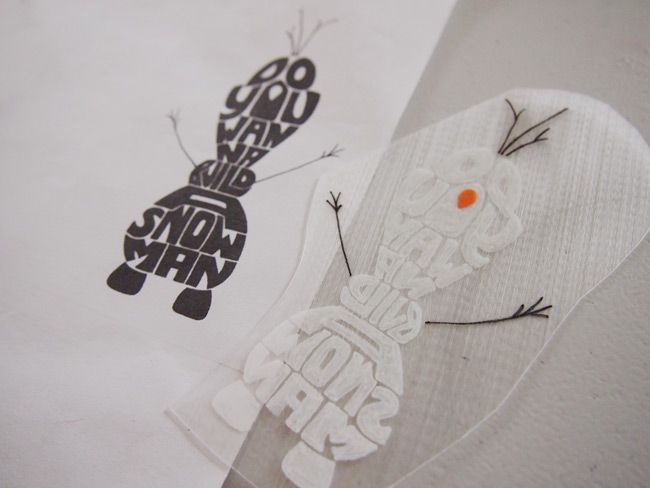
To redraw Olaf onto shrink plastic, I photocopied the original hand lettered piece and reduced the size (you need to know how much your shrink plastic will shrink to estimate how small or large you need to draw it). However, I ran into a little problem of not being able to photocopy it with the image reversed, as my shrink plastic required since the rough side to draw on was the underside. Sure, I could scan it into my computer, flip it, then print it, but that seemed to much of a hassle. Instead, I recalled a trick that Moses mentioned just last week (fantastic timing, thank you Mo) about how to make an easy light box. Here's how:
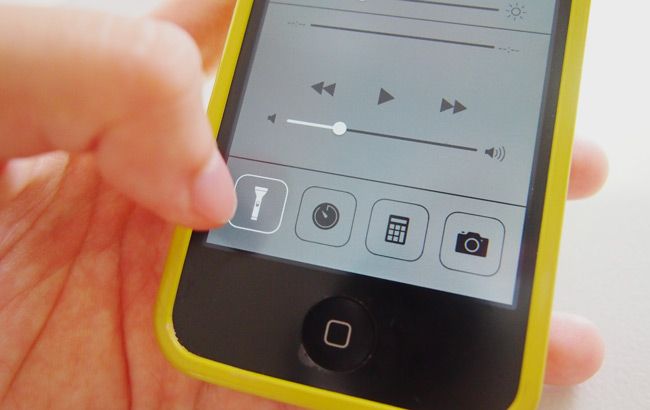
1. Turn on the torch light function of your phone, if your phone has one.
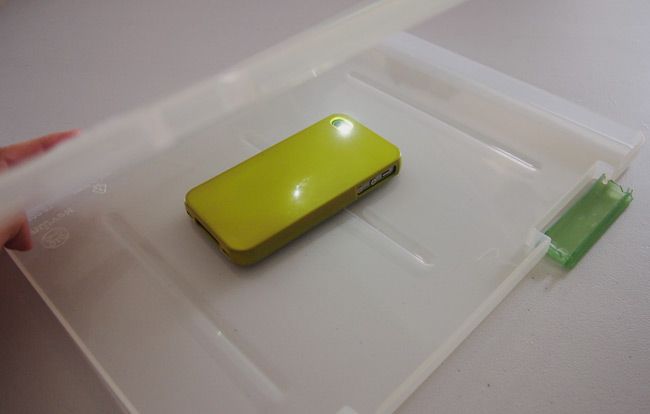
2. Place your phone in a box file with the torch light side up.
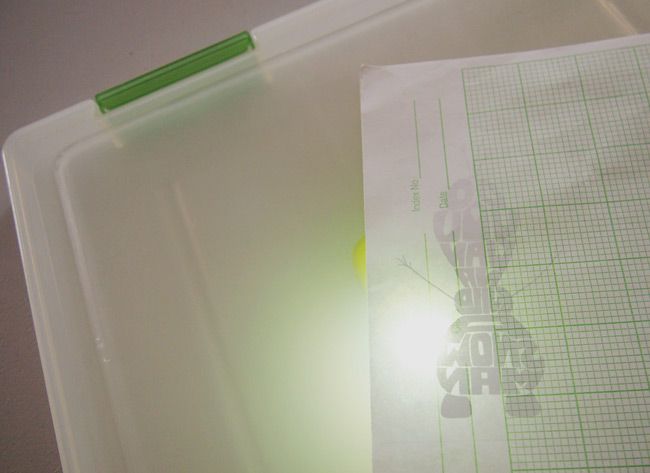
3. Close the box. And there you have a makeshift light box that's good enough for small projects! I just placed my Olaf image face down on the flat surface of the box file, put the shrink plastic above it and could trace it easily.

It really is that simple. A light box is such a novelty item as they are way out of my budget but with this neat trick, it sure is going to be enough for what I need it for. To trace Olaf, I used a Japanese Artline marker that is meant to be used for writing on photos. White pens and markers have always given me problems but this one worked surprisingly well.
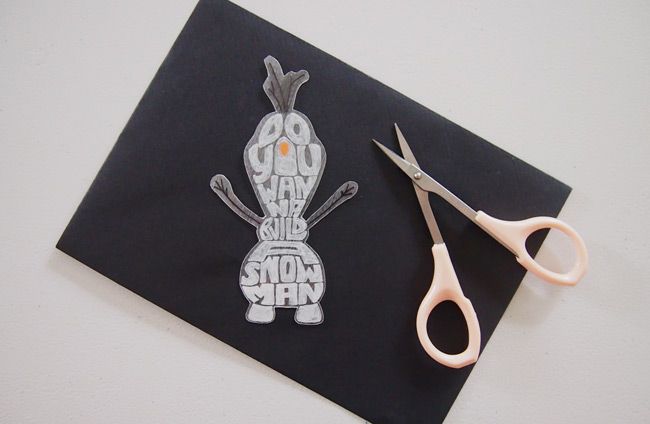
Trim the excess plastic. I always find cutting shrink plastic frustrating because it isn't easy to cut corners even with a pair of small scissors. Usually, I will end up scratching the top plastic by accident. But I think I did quite alright this time.
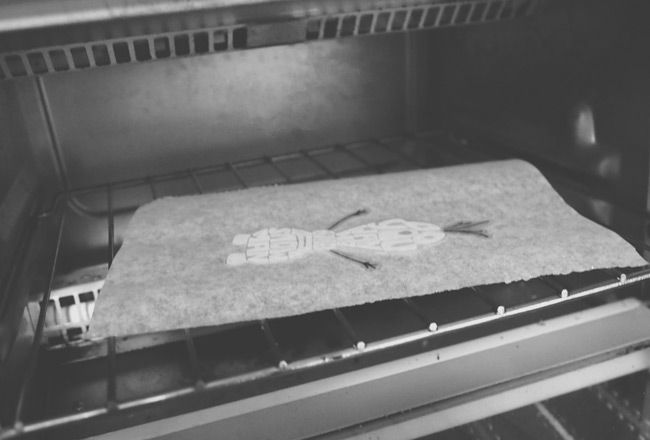
Stick it in the toaster on a sheet of baking/parchment paper, and get ready for the most nerve-wrecking minute of your day as you watch Olaf shrink and curl up like crazy as if his arms are going to stick to his head and he'll never flatten out. But he will eventually. Well, most of the time. I'm usually pretty lucky.
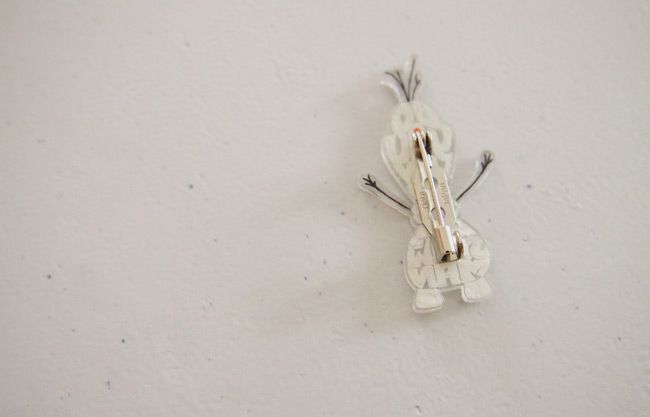
After taking it out and letting it cool, put some super glue on a pin backing and stick it on the back of Olaf and it's done! It would be a good idea to seal the back with some waterproof sealer to protect your markers/inks/paints, but I didn't because I don't have any on hand.

I love working with shrink plastic partly because of the endless possibilities, and partly because its pretty exciting to see your art become something hard and durable. If you want to work with shrink plastic and want to pick up some tips and tricks before all your hard work goes to waste in the toaster/oven, check out this forum where there is a comprehensive list of things you should look out for when working with shrink plastic! It's really useful and I always refer back when I want to work with shrink plastic.
Eunice

No comments:
Post a Comment